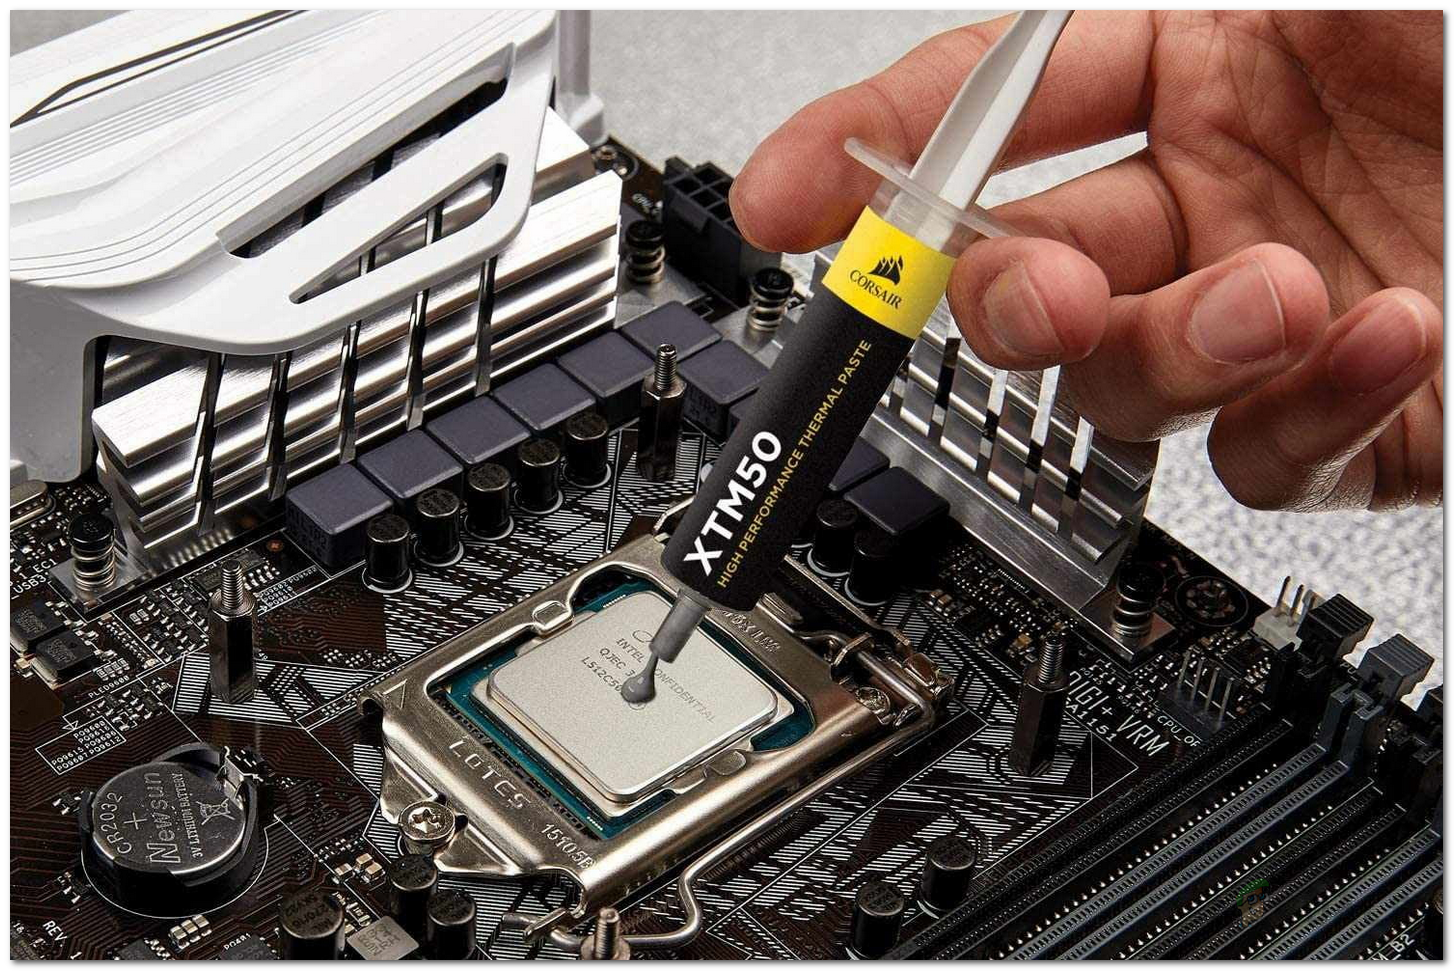
Thermal paste is an essential part of keeping your CPU cool and performing at its best. It helps to eliminate air gaps between the processor and the heat sink.
Many motherboard and CPU providers make recommendations about brands of thermal paste and application methods. The most common method is to apply a pea-sized dot in the center of the processor and four smaller dots in each corner.
Surface Preparation
Thermal paste is meant to fill in microscopic gaps between your CPU and a heat sink. That’s because even the smallest gap can drastically reduce performance.
Paste materials vary, but the majority of them have a base matrix that’s often an epoxies, silicones or urethanes and a thermally-conductive filler. This is where the differences come in – some have suspended metal particles (like aluminum oxide or zinc oxide), others contain ceramics such as boron nitride or alumina, while others have conductive carbon micro-particles.
Some TIMs also contain silver-based ingredients, which offer higher thermal conductivity values. However, they’re not suitable for use on dies without a heat spreader or any exposed electrical components nearby. The silver particles can run and short circuit components, leading to device malfunction or worse.
A good thermal paste should be shear thin for easy dispensing and have a low thixotropic index. This allows it to be spread evenly and quickly, allowing you to get the best possible results.
Spreading
Thermal paste fills microscopic imperfections between the CPU and the heat sink. This helps to improve heat transfer by ensuring that the surfaces are in contact with one another rather than air, which is a poor conductor of thermal energy. It also prevents the formation of air bubbles, which would hinder thermal transfer by forming an insulating barrier.
Most thermal pastes are based on a mix of metal oxides and other ceramic materials with a silicone binding agent. Some, such as ARCTIC MX-4, contain other elements like carbon, which makes them electrically conductive, while others are not.
It is important to clean the surfaces of the CPU and heat sink before applying any thermal paste. Use a piece of lint-free cloth or a coffee filter with some IPA or ArctiClean Thermal Material Remover to wipe off any residue from the previous thermal paste. Make sure the surfaces are completely dry before proceeding with application of the new paste. Once the surface is clean, it is time to choose an application pattern. Most commonly recommended patterns are the Pea-Sized Dot and X Pattern, which aim to promote even coverage and eliminate air gaps for improved heat transfer.
Adhesive
Thermal pastes are formulated to flow into the microscopic gaps and crevices in two surfaces in order to boost heat transfer. Different paste materials use different ingredients, with some utilizing silver-based noble metals for superior conductivity.
Solid adhesives are melted under certain conditions and then spread onto the surface to be bonded. Once the melted adhesive cools, it hardens and forms a cohesive bond. The adhesives may be applied by hand or with specialized dispensing and application equipment, depending on the type and the application requirements.
When mounting a CPU cooler, check for excess thermal paste around the mount area. If there is, it needs to be cleaned up and you should consider starting the process over again. The excessive thermal paste can drop down and reach motherboard contacts and cause a short circuit, which is obviously bad news for your computer. Additionally, too much goop will impede the cooling of your processor. It’s important to know how to lay down the right amount of thermal paste, and it’s a common mistake newcomers make.
Final Words
In the world of CPU cooling solutions, thermal paste (also known as thermal grease or heat paste) is a vital component. It transfers waste heat from the processor to the cooler, ensuring it remains cool and efficient. But while the process seems simple, a slight mistake can cause irreparable damage to your motherboard and CPU.
Fortunately, there are several common application patterns that are recommended by enthusiasts and experts alike. These patterns promote even coverage and optimal heat transfer.
Although the specifics of your CPU, cooler, and thermal paste may have some impact on the exact application pattern, the general guidelines presented here should help you make a well-informed decision. By following these tips, you can ensure a smooth thermal transfer between your CPU and the cooler and enjoy maximum performance in your build. If you have any questions or comments, please feel free to leave a comment below! Thank you.Thermal paste application


